How to start a kick-ass blog for free, short version
This is the shorter, only instructions based version of the previous blog post. Please see that blog post if you want an in depth explanation of the steps below.
This short version is intended for a quick overview for people who already know the details, but needs a quick reference/refresher of the steps.
Prerequisite knowledge/inventory: An old/retired/unused computer with internet connection with any Linux distribution installed on it.
Here is a rough overview of the steps:
- Create a folder for your website
- Install Nginx.
- Set up Nginx server configuration for your domain name.
- Configure Cloudflare
- Configure Cloudflare to securely manage your domain name
- Set up Cloudflare Zero Trust Tunnel on your server.
- SEO, Remote File Transfer, Blogging
- Please see the long post for these steps.
1. Create a folder for your website
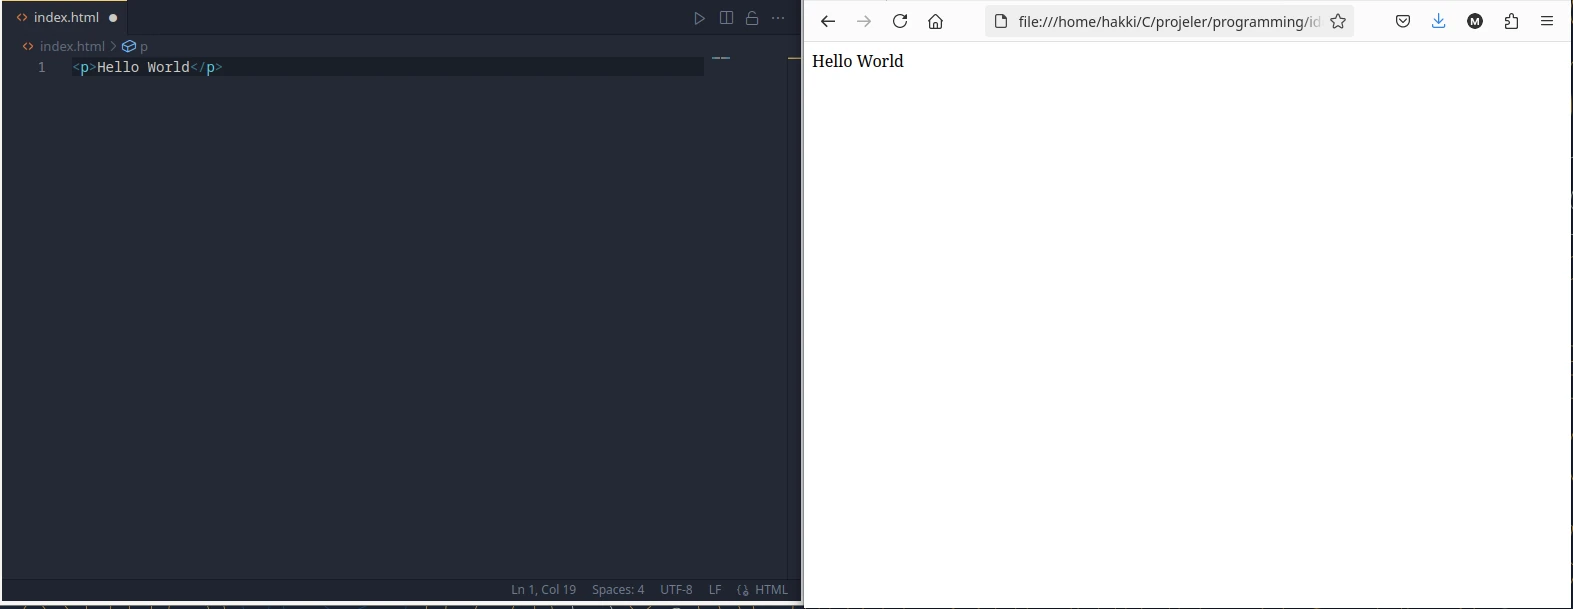
Create a folder somewhere in your server computer. Then create a file named index.html in that
folder. Write some simple HTML in it.
2. Install Nginx
Check installation for your specific distribution.
ArchLinux:
sudo pacman -Syu
sudo pacman -S nginx
Ubuntu/Debian:
sudo apt update
sudo apt install nginx -y
2.1. Set up Nginx server configuration for your domain name
Start (activate) and enable Nginx:
sudo systemctl start nginx
sudo systemctl enable nginx
Check if Nginx service is running properly:
sudo systemctl status nginxNow let's write our server block file for Nginx. This file must be written in
/etc/nginx/sites-available/ folder. You must create a new file in this folder. You can give it the
same name of your domain name (for me, it is named ideasofhakki.com)
Below I will share the final version of this Nginx file in its entirety. However keep it mind that you need to
change some lines for your own specific configuration (obviously). I highlighted these lines. We will download
ssl_certificate and ssl_certificate_key from Cloudflare. You can also get them from
other providers, such as Let's Encrypt.
server {
listen 80;
listen 443 ssl;
server_name ideasofhakki.com;

ssl_certificate     /etc/ssl/ideasofhakki.com.crt;
ssl_certificate_key /etc/ssl/ideasofhakki.com.key;

ssl_protocols SSLv3 TLSv1.3;
ssl_prefer_server_ciphers on;
ssl_ciphers HIGH:!aNULL:!MD5;

root /home/hakki/ideasofhakki;
index index.html;

location / {
try_files $uri $uri/ =404;
}

location = /rss.xml {
add_header Content-Type application/rss+xml;
}
}
When we update the server block file, we must check its syntax for correctness and restart the Nginx service. Check the syntax correctness by:
sudo nginx -tIf everything is OK, restart the Nginx service by:
sudo systemctl restart nginxWe haven't installed the Certificates yet! So the SSL setup listening on port 443 is not going to work! Just keep following the steps below, and when you are done, remember to restart Nginx. Well, I will remind you again.
3. Set up Cloudflare
3.1. Configure Cloudflare to securely manage your domain name
Add your domain name to Cloudflare
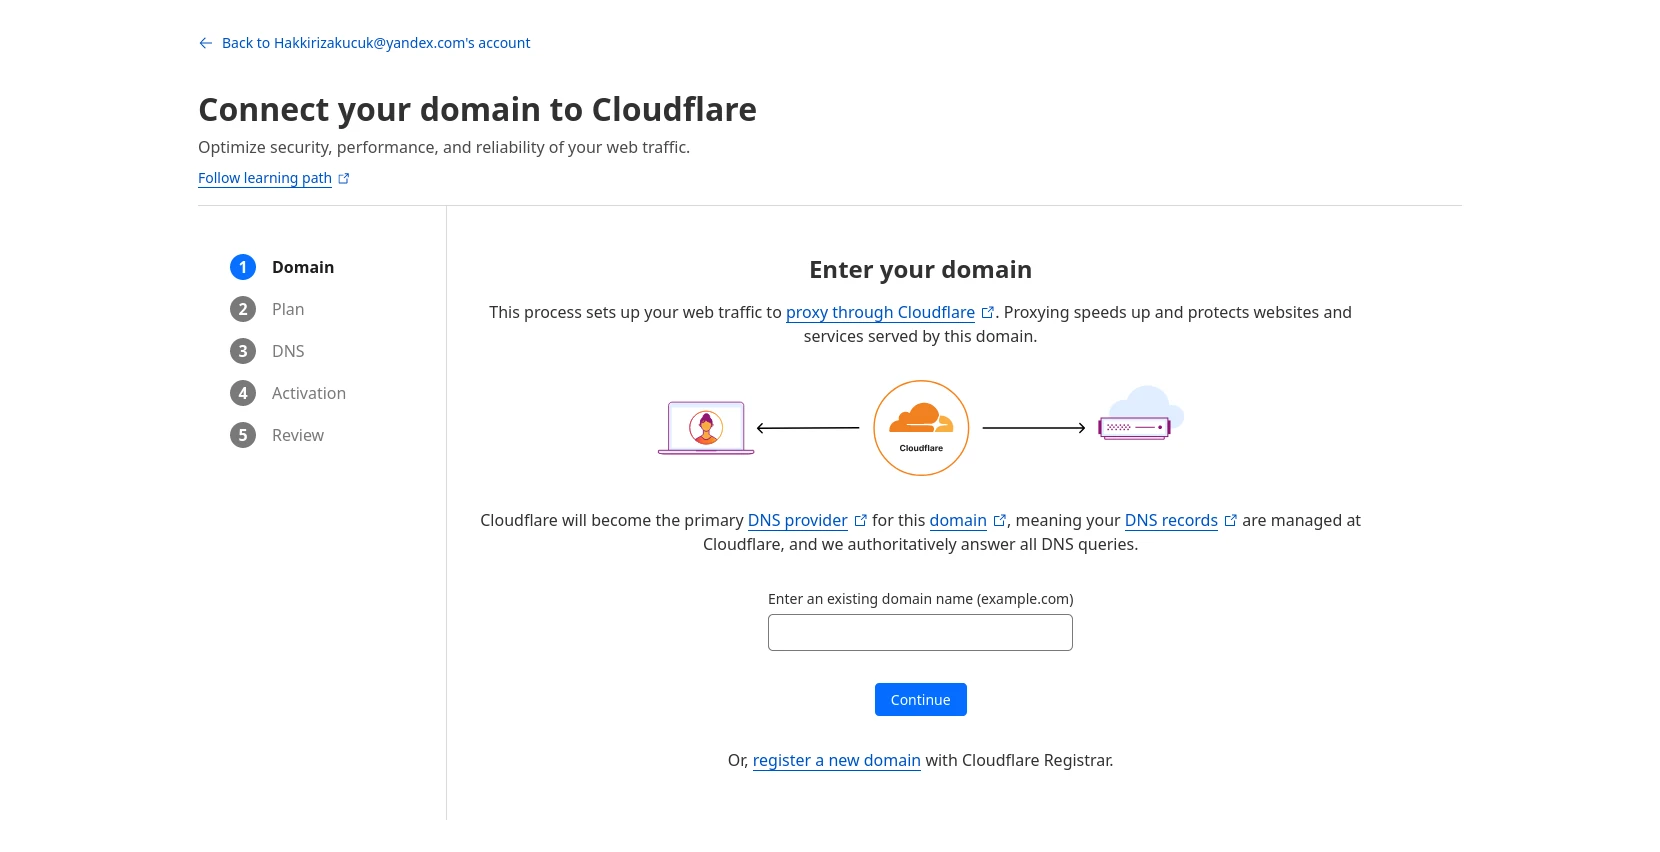
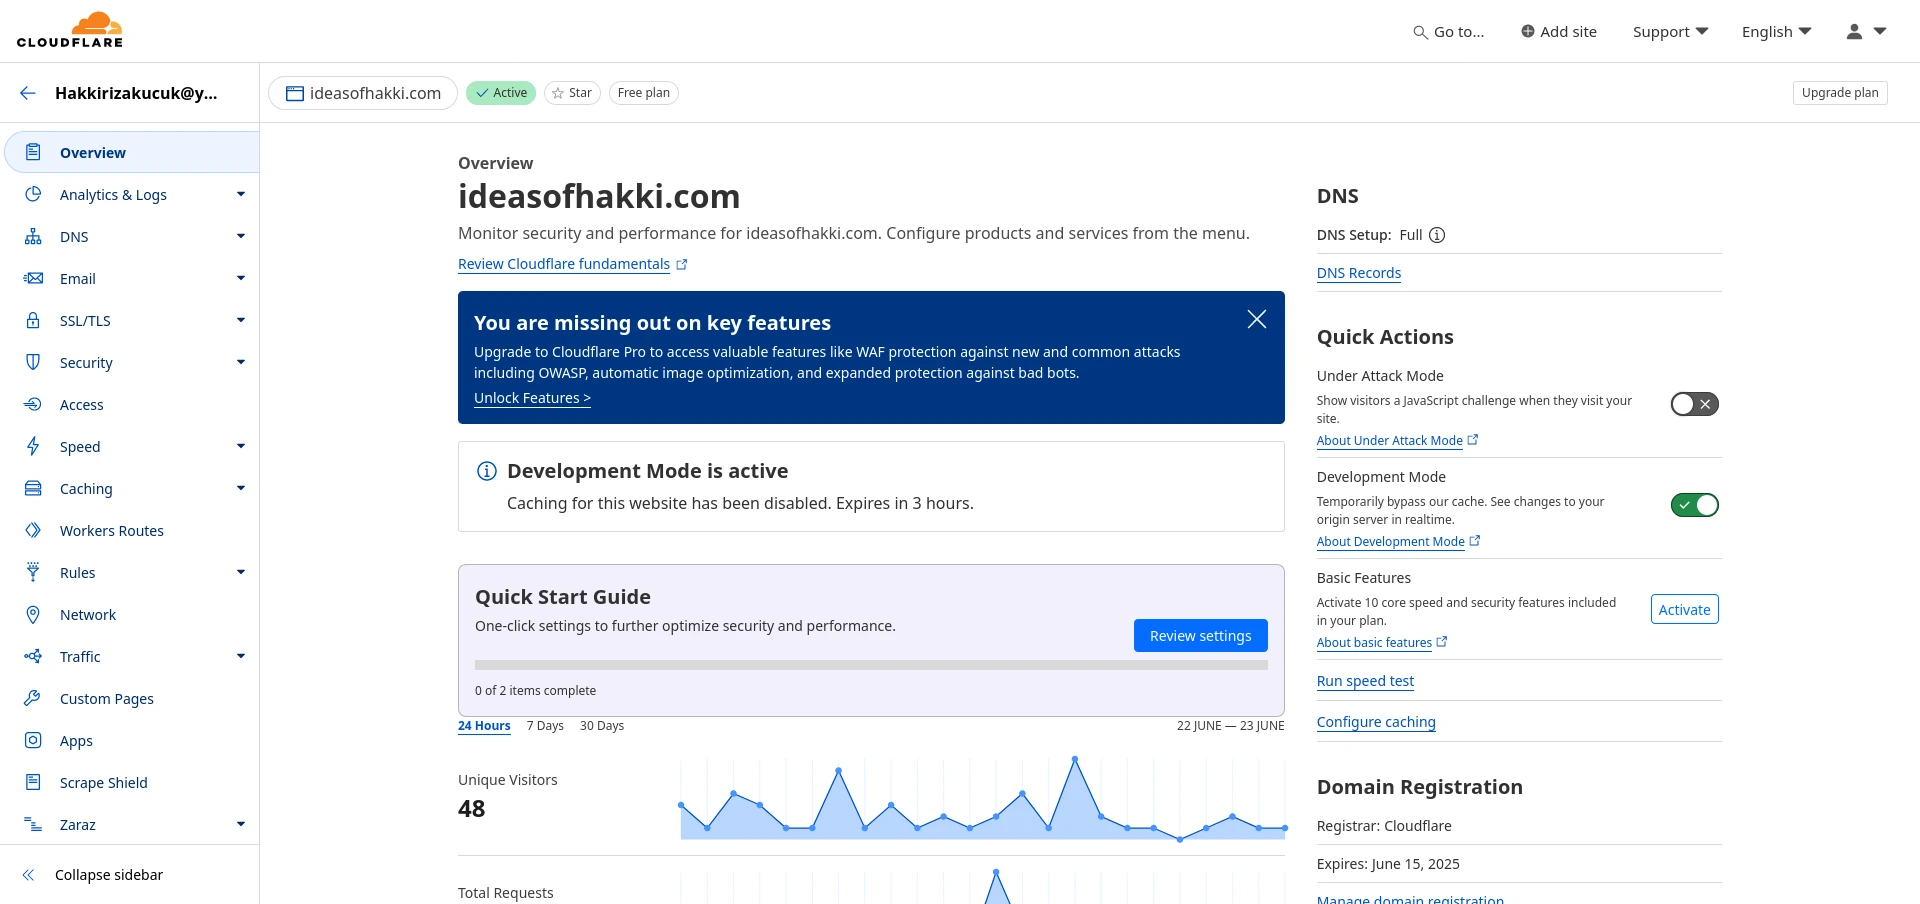
Create a Cloudflare account. Then hit "Add Site" button to add your first website in Cloudflare. You will have the option to add there an existing Domain Name you bought somewhere else, or buy a new domain name directly from Cloudflare.
Configure some Cloudflare settings
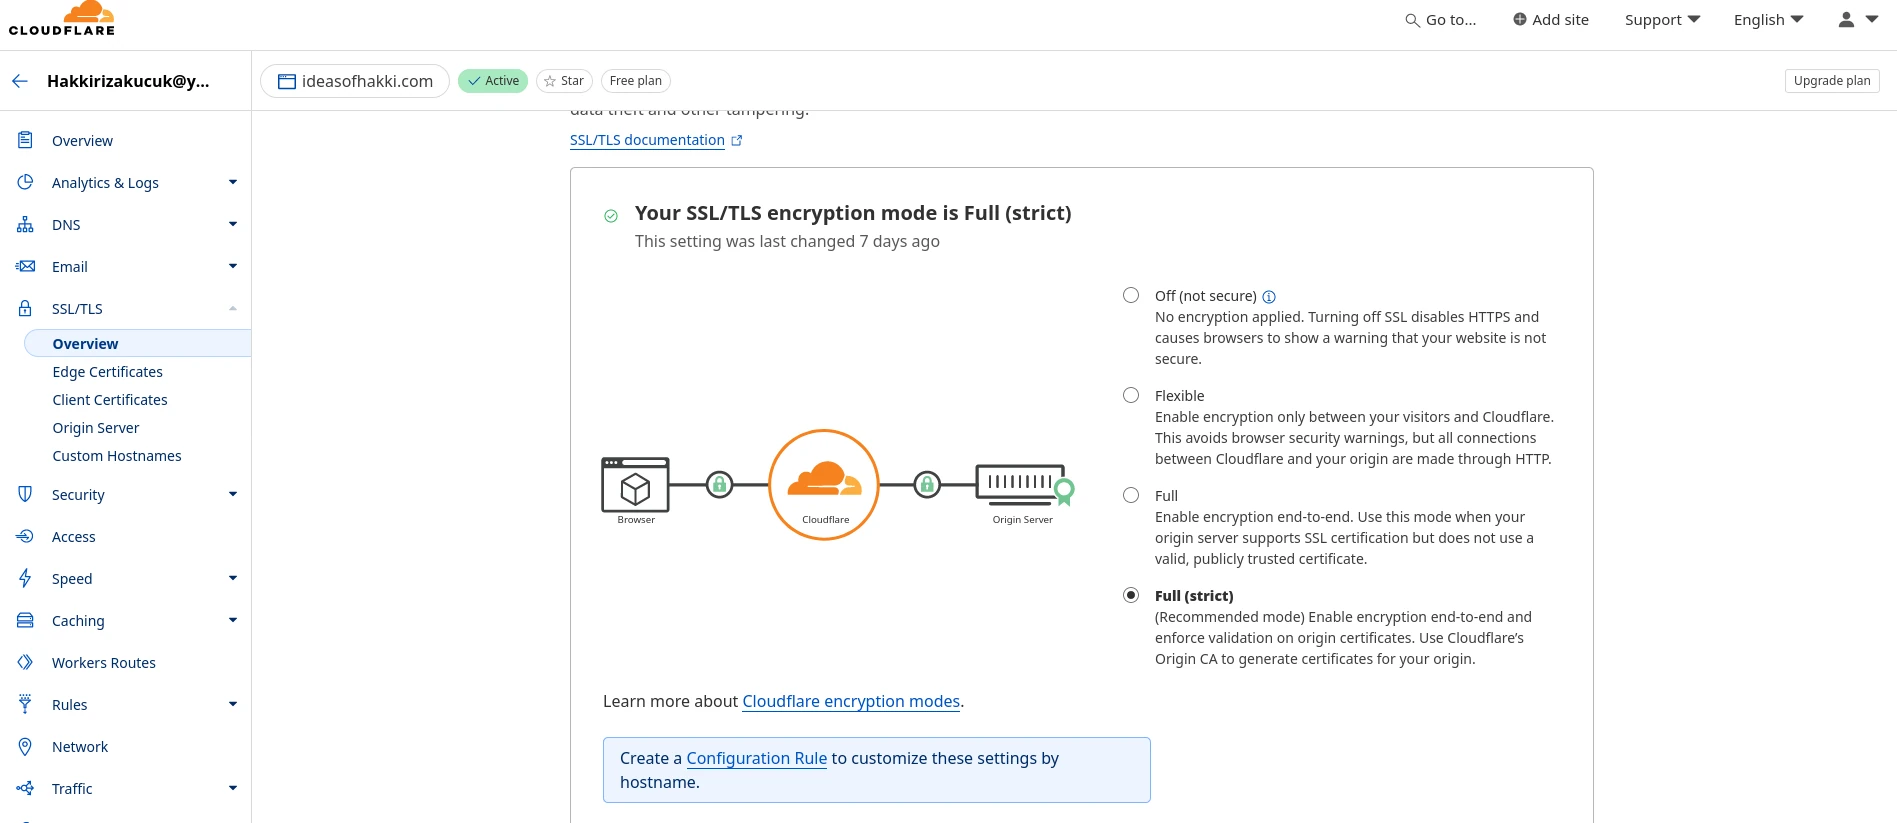
Go to SSL/TLS tab on the right. In the Overview subtab, you should see below image.
For encryption mode, choose Full (strict).
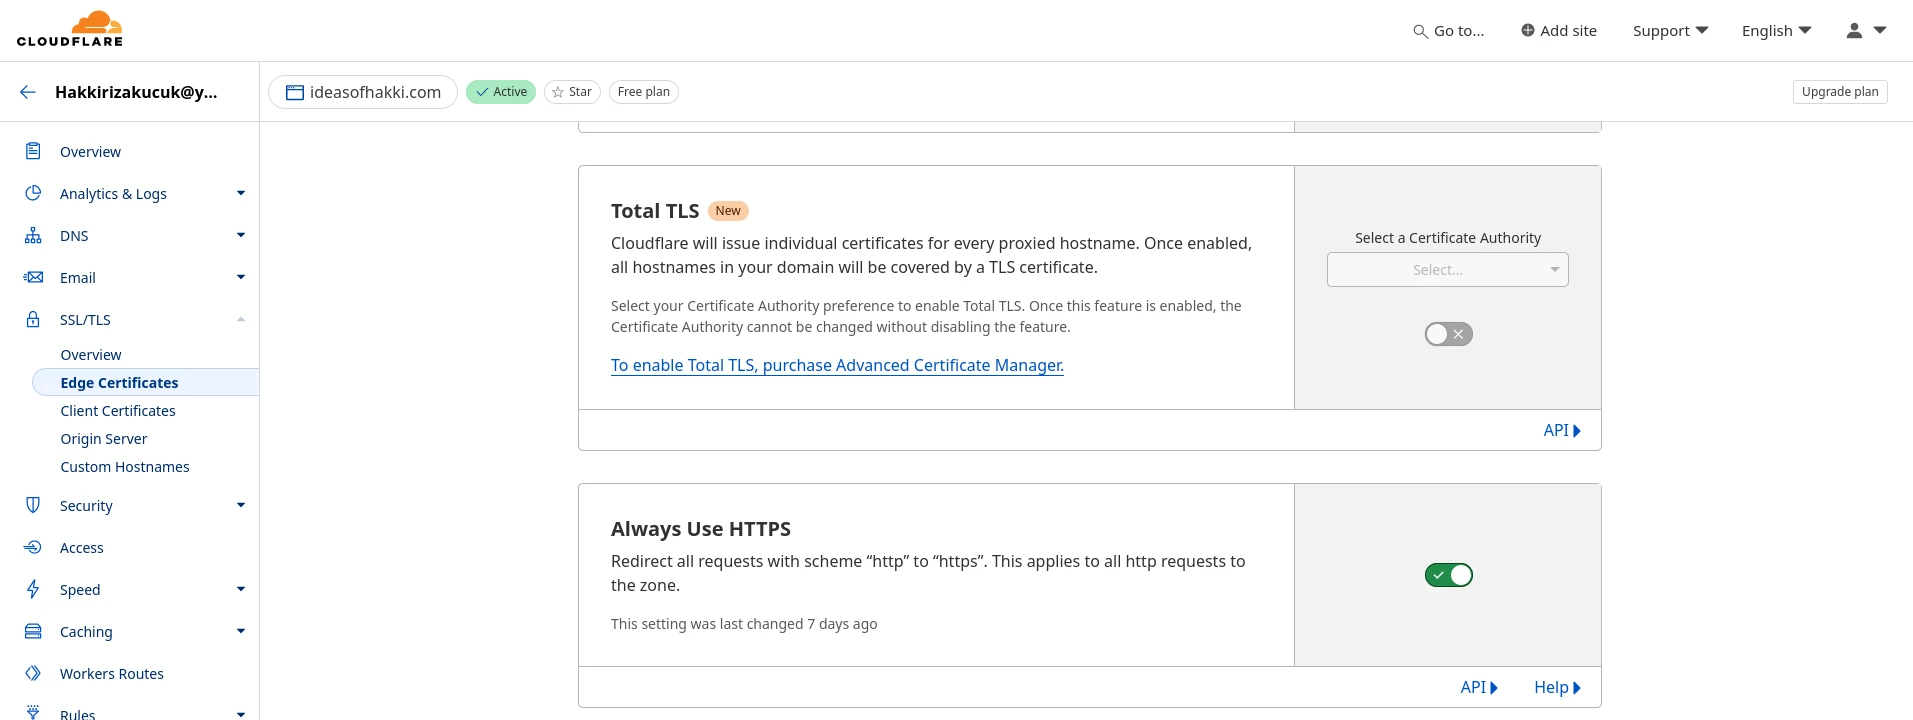
Next, go to Edge Certificates subtab. Scroll down there and enable Always Use HTTPS
option.
Download Cloudflare Origin Certificates on your server.
Now go to SSL/TLS -> Origin Server subtab. There hit the button Create Certificate.
Generate your Origin Certificates. When you are presented with the so called Private Key, copy it
immediately and save somewhere. This is the only time you will be able to see it.

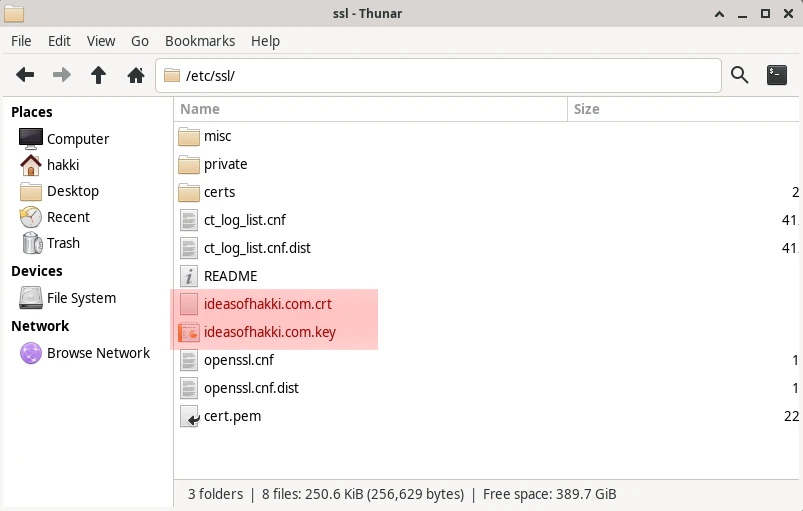
Now that you have your Certificate and Private Key, you must place them in the appropriate place in your
server. Usually, this is /etc/ssl/ folder. Inside this folder, you should see certs
and private folder, where your Certificate and Private Key should go respectively. However you can
also just place them inside /etc/ssl/ main folder. Linux does not care. This is what I did to make
it simple, so I can write this tutorial. You can name the files anything you want. I named them
ideasofhakki.com.crt and ideasofhakki.com.key respectively for the Certificate and the
Private Key.
Now you should set correct ownership and permission for these two files. Run
sudo chown root:root /etc/ssl/certs/your_certificate.crt
sudo chmod 644 /etc/ssl/certs/your_certificate.crt
And for the Private Key:
sudo chown root:root /etc/ssl/private/your_private_key.key
sudo chmod 600 /etc/ssl/private/your_private_key.key
Remember to make sure that your Nginx server file we edited earlier matches the certificate and private key path. Also check your Nginx file syntax validity by:
sudo nginx -tIf everything is OK, then restart the Nginx service and check its status as well:
sudo systemctl restart nginx
sudo systemctl status nginx
3.4 Set up Cloudflare Zero Trust Tunnel on your server.
Install cloudflared on your server. Here are installation
instructions for various operating systems from official Cloudflare docs.
Now launch Zero Trust service from Cloudflare. There, create a
new Tunnel. Choose recommended Cloudflared connector. Now Cloudflare should give you a command that
looks like this:
sudo cloudflared service install eyJhIjoiMT.... # (redacted) Copy yours and run it. Now your tunnel should be established already.
This also activates the cloudflared service. You should check it, and also enable it (so it starts
automatically if you reboot the server):
sudo systemctl status cloudflared
sudo systemctl enable cloudflared
In Cloudflare, you should now also see this 'Route Traffic' page:
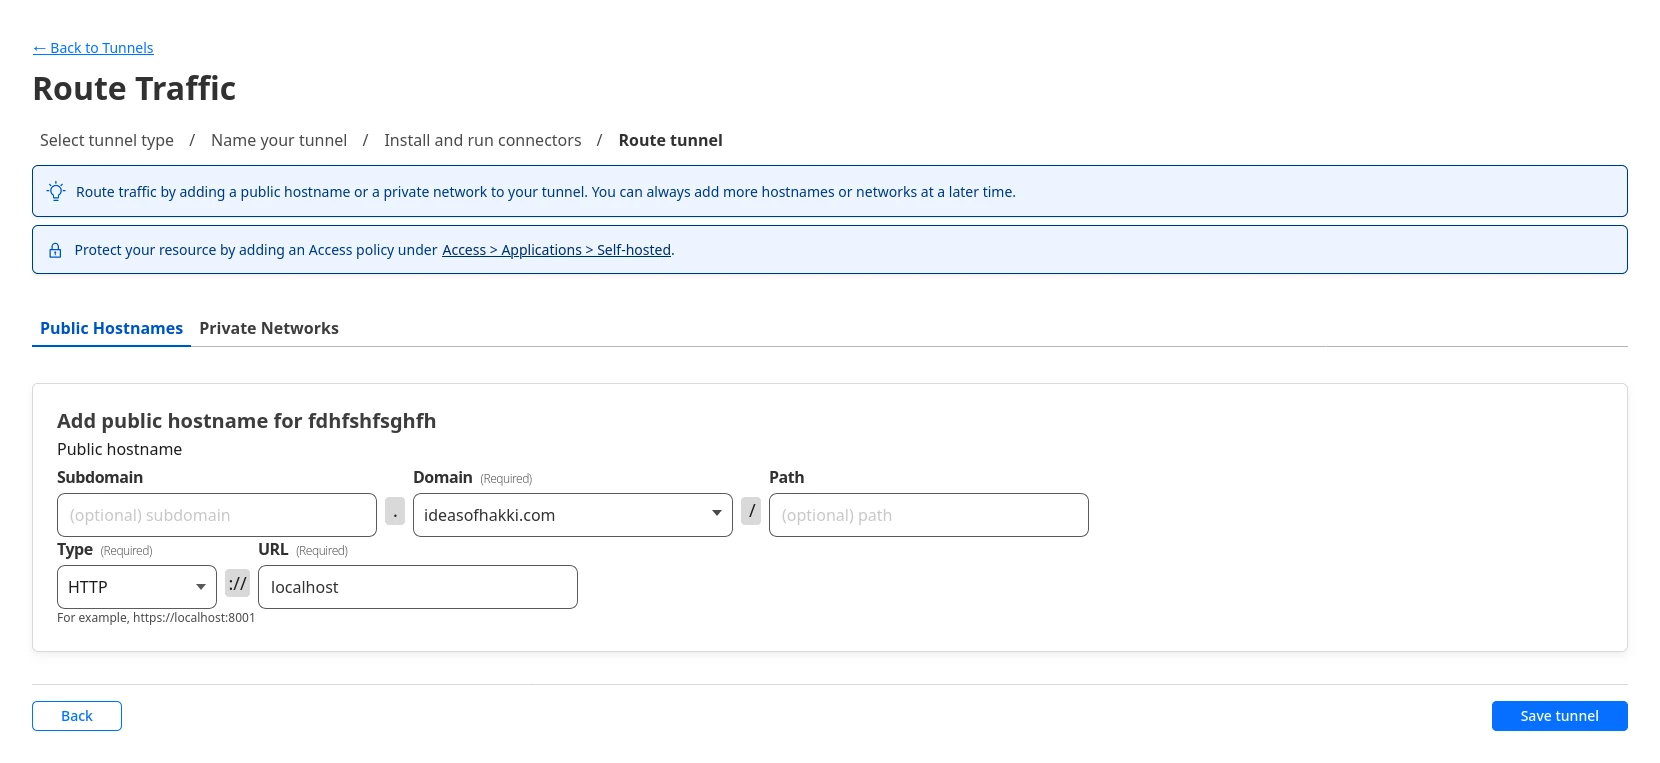
For Domain field, write your domain. Choose "HTTP" for type. For URL, type "localhost". Save tunnel. If everything went fine, you should see that your tunnel is "Healthy":
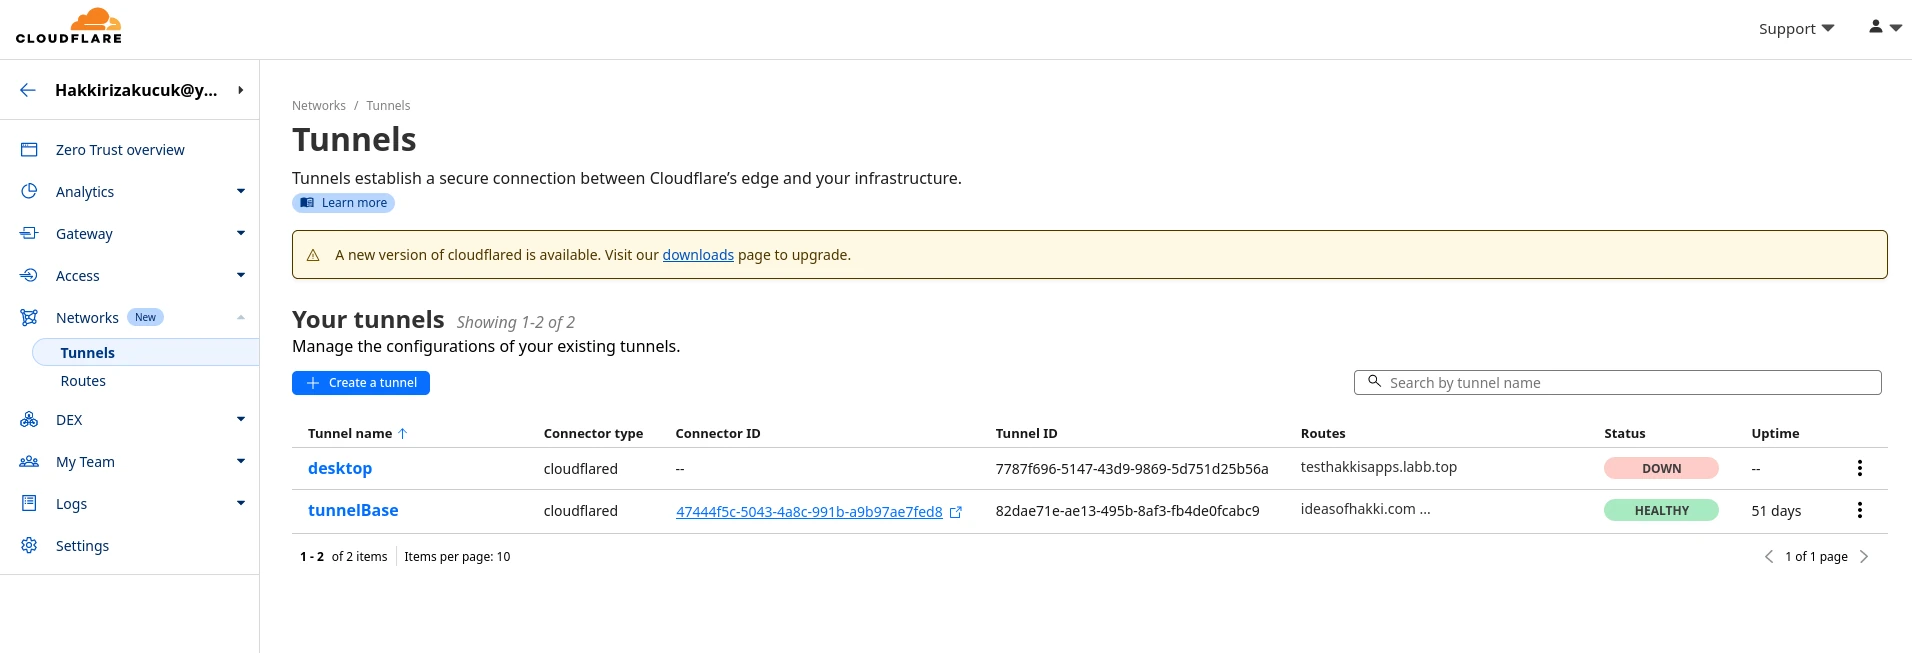
I have two tunnels, one is Down, shown in red. The Healthy tunnel is shown in Green.
The End
This is it! Go to your URL on your browser. Your website should load now.
Please check the long version of this post for extra steps, such SEO, remote file transfer and blogging instructions.